The Unofficial TBL Bikepacking Guide (3 Levels)
This weekend is The Bike Library's edition of the Swift Campout! If you're interested in joining, don't forget to sign up using this link.
If you're interested, but don't really know how you're going to carry a bunch of camping stuff with you, much less what it is you need to carry -- read on! Today, we're covering three levels of bikepacking setup. From beginner to intermediate to advanced, there's something for you here.
Part 1: The Backpack Bikepacker
Story time: After I graduated college, I packed some clothes and a toothbrush in a backpack I bought from REI, grabbed the two people nearest me – who happened to be the lovely Lauren B and our good pal Jacob Harrison (legend) – and rode from Gainesville, FL to Saint Augustine, FL. It was my first "bikepacking trip."

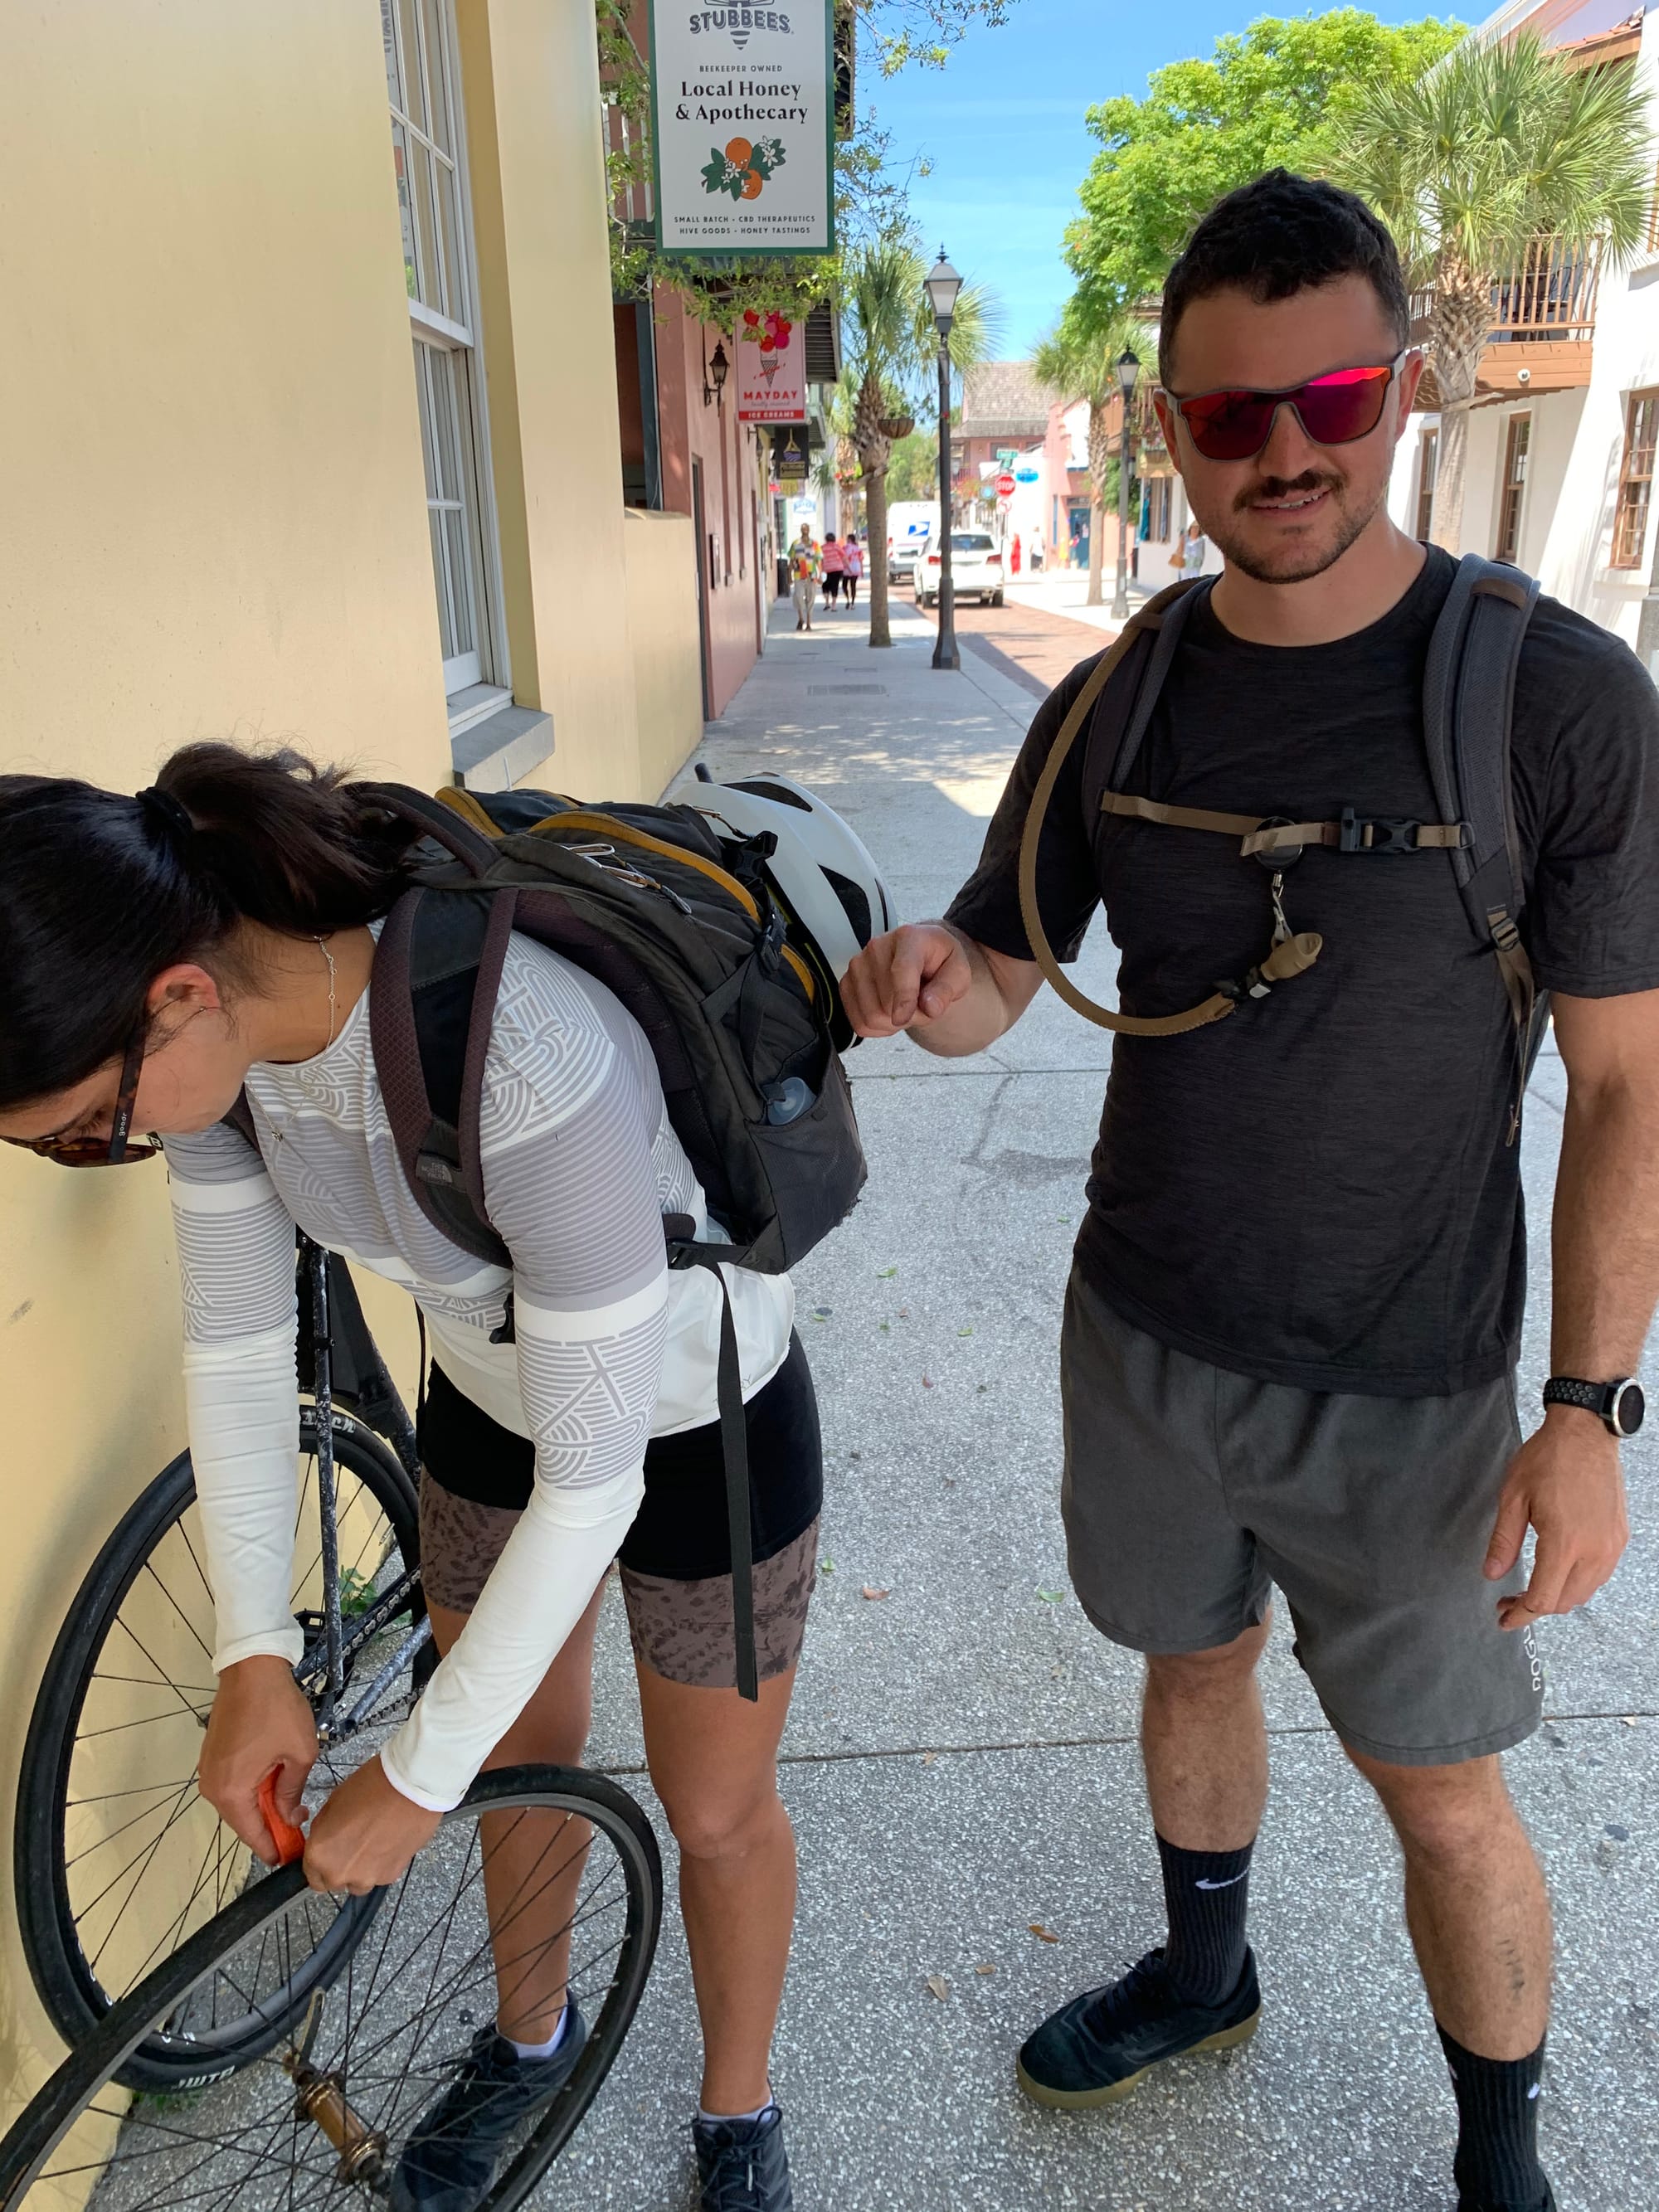
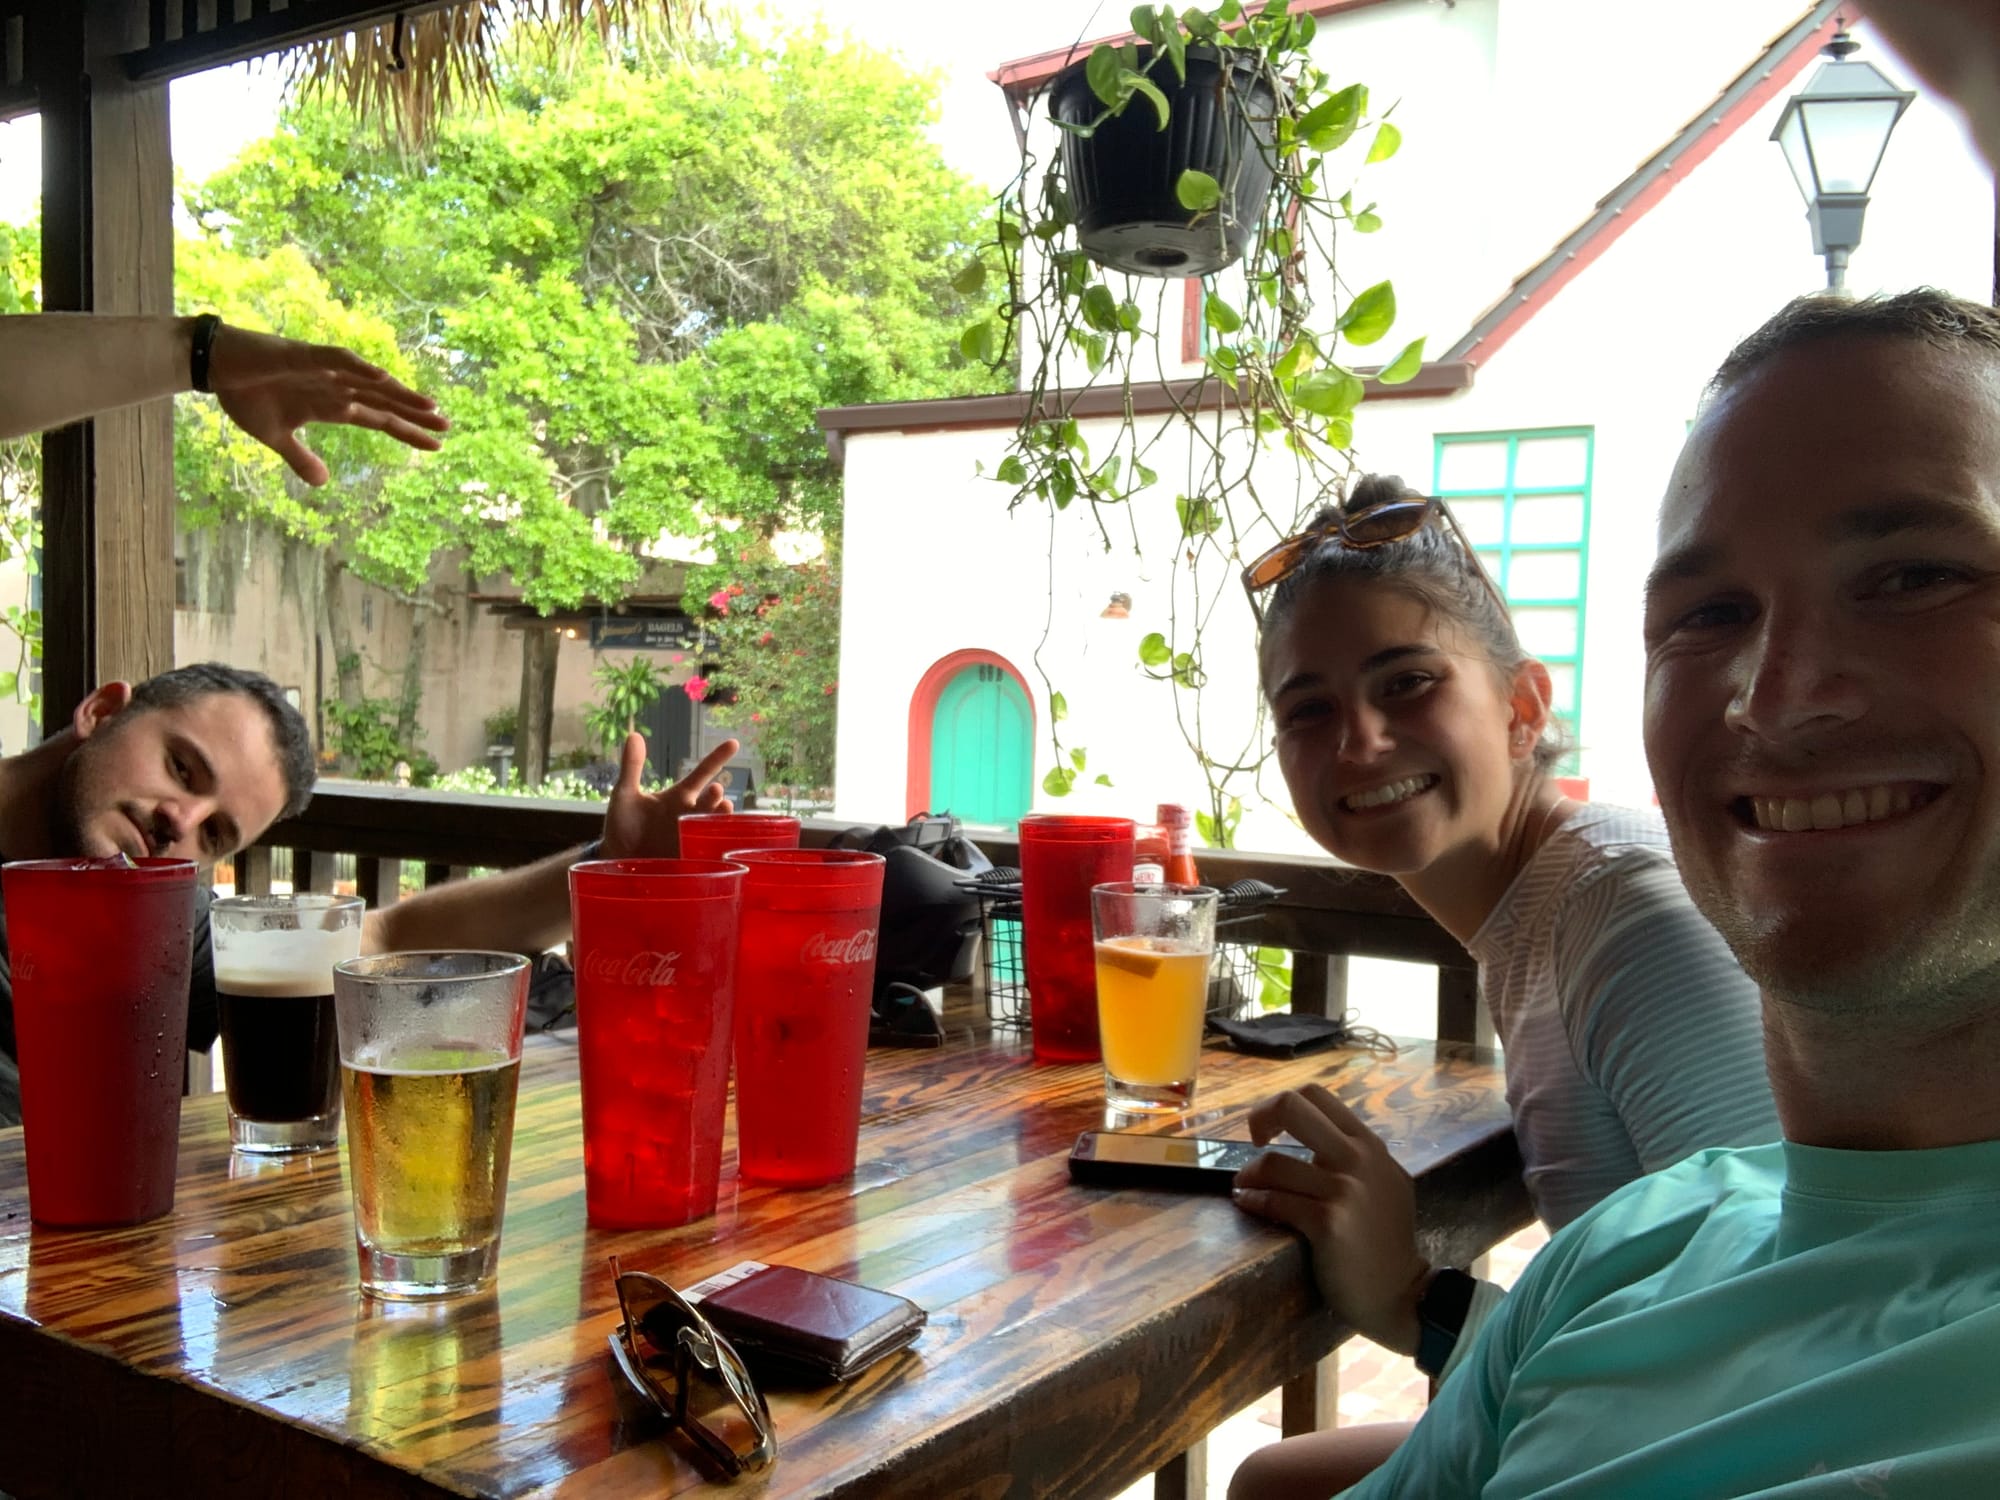
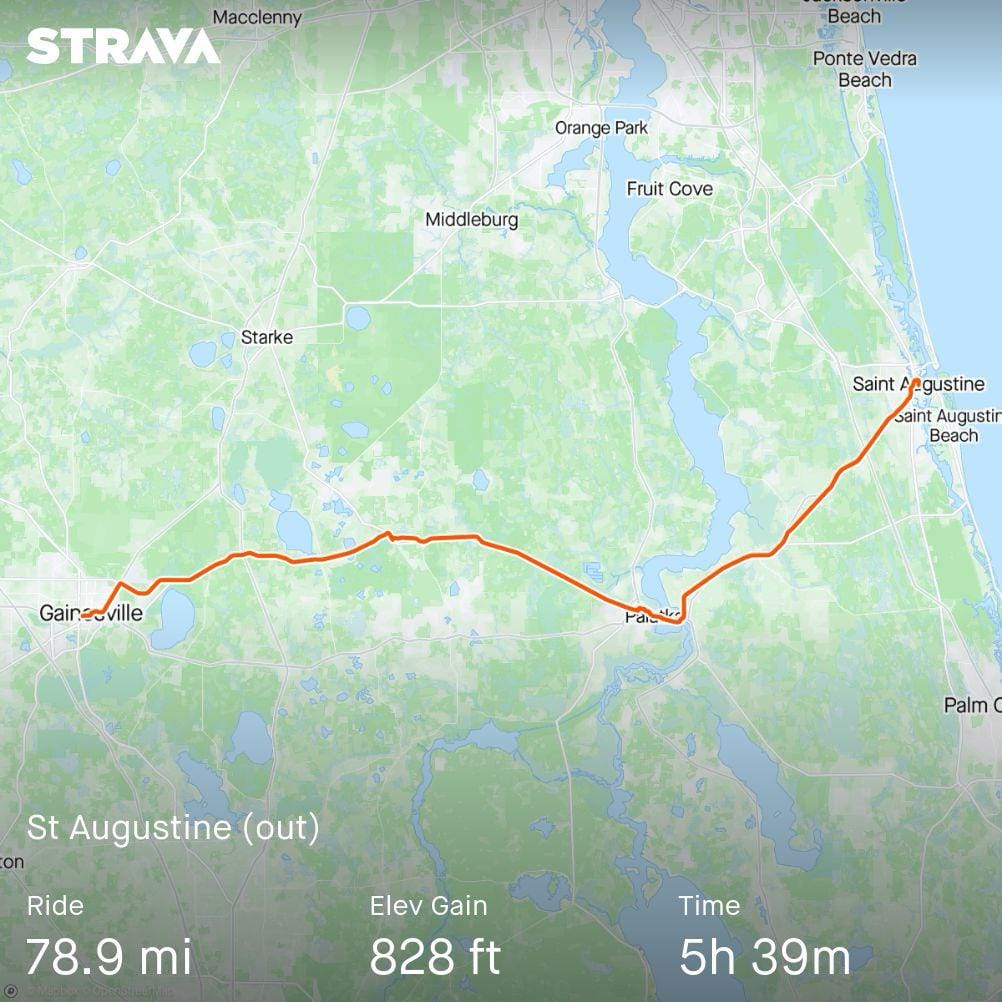
I was on a fixed gear bike, Lauren was on my gravel bike – way too big for her – and Jacob was on a friend's rusty old Nishiki that we tuned up last minute.
Did we die tho? No, and it was a helluva good time.
Summary of Part 1 of this article:
All you need to bikepack is a bike and a backpack (and, ideally, some friends.)
Part 2: The Overnight Kit
Overnighters are single-night bikepacking trips, and an accessible way to get into bikepacking. That's what's on deck for this weekend, so this section will constitute the bulk of today's article. There are three main parts: How you're gonna sleep, How you're gonna eat, and How you're gonna get it to the campsite. Simple, no?
- Sleep
Quick! Hammock camping or tent camping? Make a choice.
They're both very doable. One is lighter, the other is warmer.
Hammock: For ultralight summer camping, choose a hammock with a bug net like the ENO Junglenest. The bug net is mandatory. Don't forget straps like I did my first time camping! The ENO Helios straps are perfect and pack down tiny.
Tent: If you're camping in cool or cold weather, opt for a tent. I use a North Face Stormbreak 2, with the tent poles strapped to my top tube with Voile Straps and the tent itself in a bag. More on that later.
A packable sleeping bag or a few light blankets are fine, and can typically compress down to a reasonable size if you use a compression sack. I use a variety of objects as pillows, but rarely bring a dedicated pillow.
- Eat (and drink)
Bring a ton of carbs. And by that, I mean way more than you think you'll eat. I recommend bananas (that link goes to a podcast about bananas), Nature's Harvest Fig Bars from Costco, and Clif Bars.
Whatever you buy, look at the nutrition facts. Then look at the "carbohydrates" line. Maximize that variable.
A Coca Cola and a Payday is, in my opinion, the best mid-ride refuel you can get for the money. When your body is in a warm, sub-threshold, oxidative, zone 2 state (like, say, a gas station stop on a bikepacking trip) your GI tract can't physically absorb energy fast enough to equal your output. The sugar and caffeine work nicely in the short term and the fat from the peanuts and caramel carries that energy on.
This advice is based entirely on what's worked for me during many long rides and bikepacking trips. Do what makes your body happy.
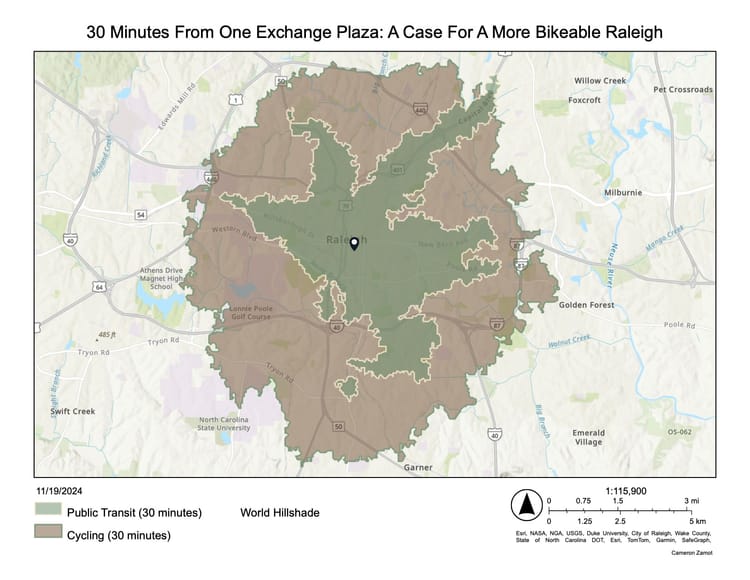
Also, pack more water than you need but also understand that we're in Wake County and are never more than a few miles from a gas station. This weekend will be a fairly low-stakes effort, plus we will all be able to share water if the need arises.
Dinner and breakfast, at their simplest, need to be carbs and fats. Bread, peanut butter, tins of tuna, mayo, crackers, whatever. Anything beyond that is gravy... literally. In bikepacking, it's okay for food to just be fuel.
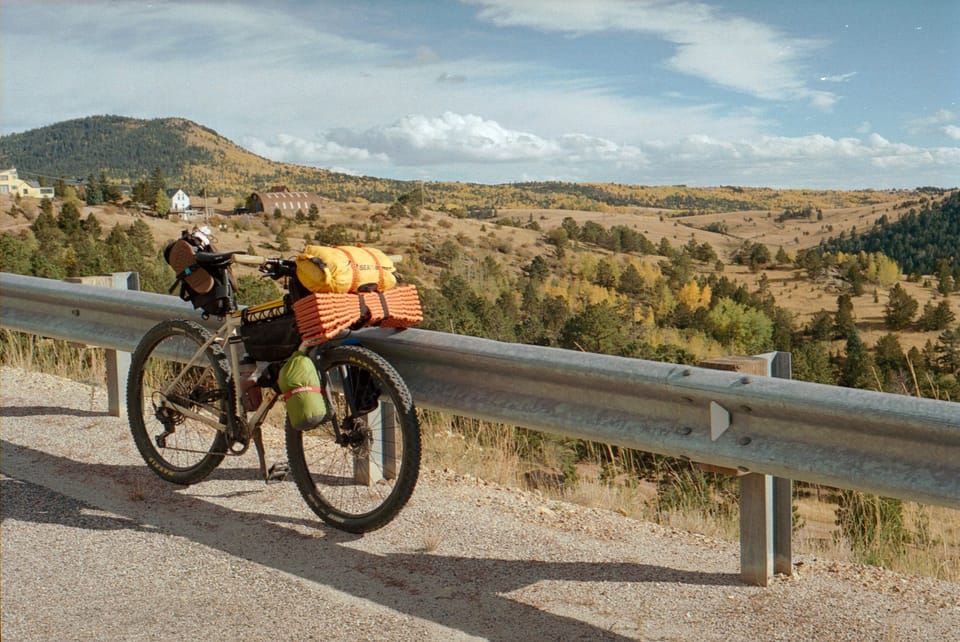
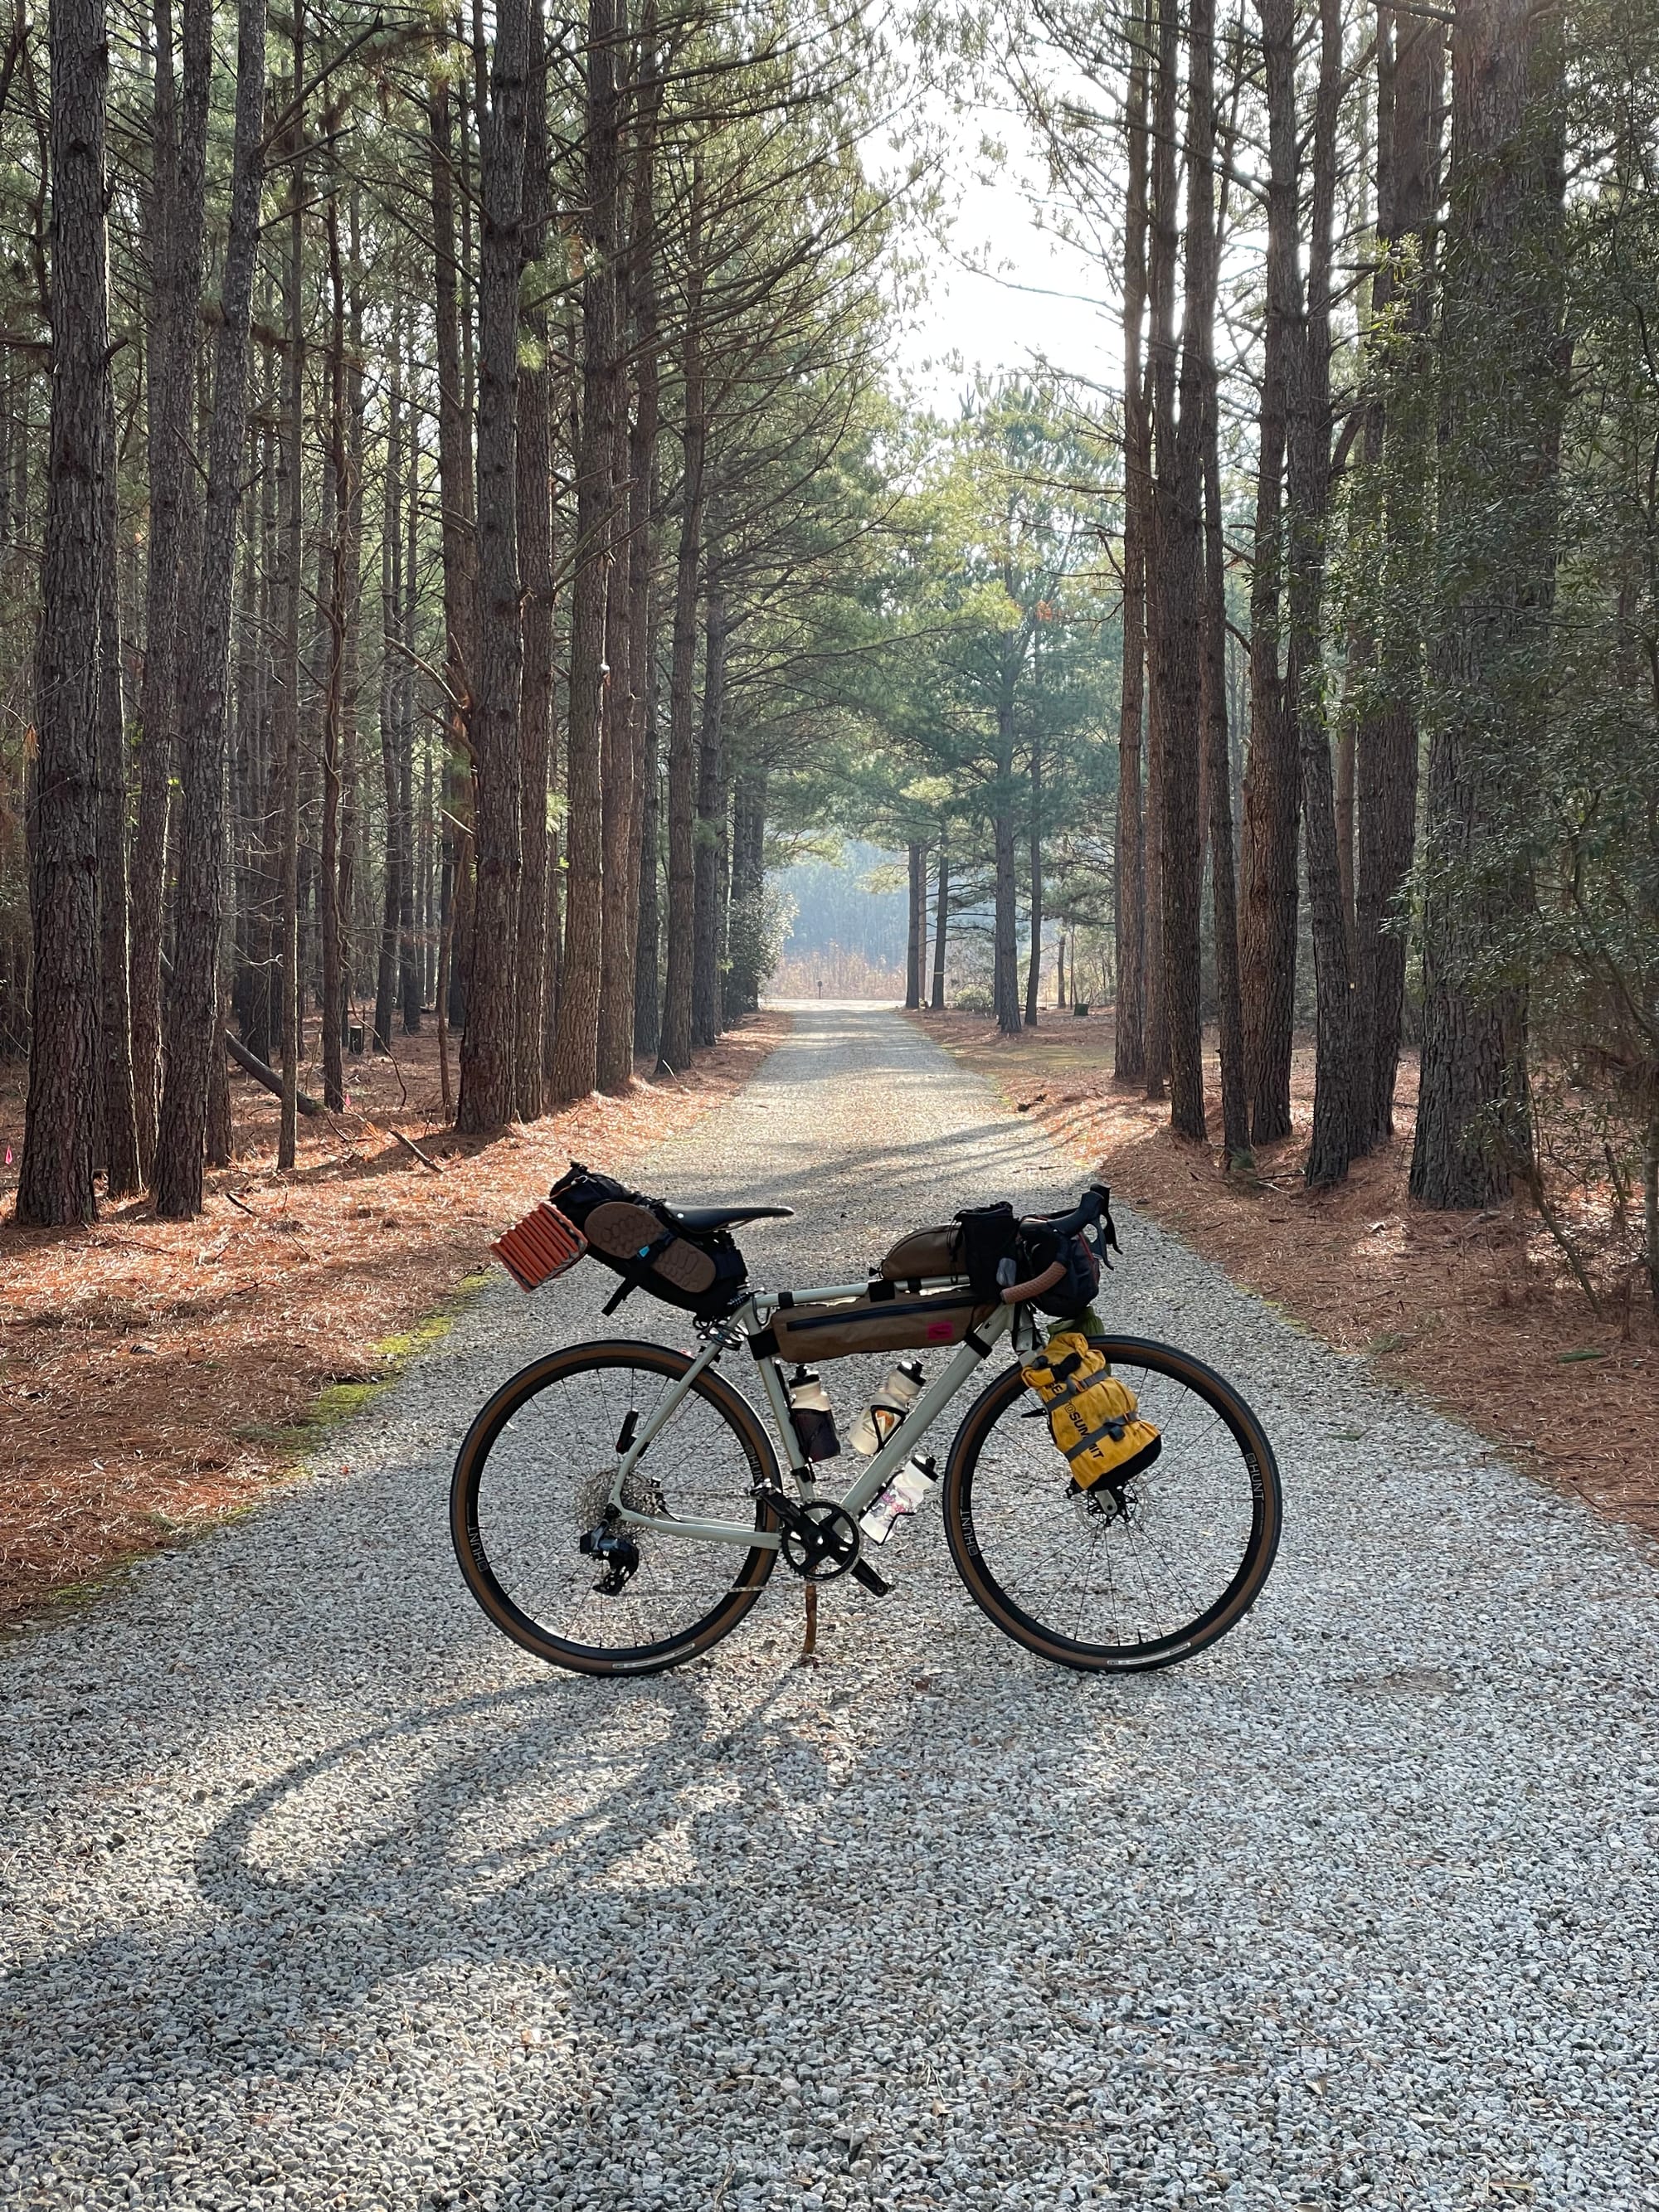
- Carry
This can be overthought and overdone, but at its simplest, there's a solid 3-bag system that can get you through:
a. Handlebar bag: Best for low need-to-access-mid-ride items, like sleeping gear or cooking gear, if you packed it.
These can come in many sizes, shapes, and prices. DIY ideas are here. Expensive Swift Industries bags are here. I started off with a drybag and some Voile straps. I lived to tell the tale.
b. Frame bag: Best for mid-ride items like food, camera, etc.
Alternatively, a backpack. This is for easy-access items you might need on a ride. A hip pack is another great option for less load on your back.
c. Seat pack: Best for more low-access items like next day's breakfast, a book, clothes. DIY ideas here.
Soft, light goods go well in the back. Seat packs like this are great for gear that doesn't mind being compressed, like clothes and food. I'd avoid putting electronics or cooking gear in the seat bag. I also tucked my pajamas in there, since those are the last thing I unpacked at the end of the day. 😄
d. Bonus round: Strapping shit to your frame.
Fork legs, top tube, seat tube, and the bottom of your down tube are all great spots for additional gear. Depending on the size and dimensions, you can strap a lot to just the frame. Remember to bring plenty of Voile Straps!
Part 3: The Multi Night Kit
This is an extension from Part 2, with the addition of water filters, additional comforts like sandals for camp, more accessory bags (all of which were jammed with food, of course) and battery packs. The real "packing list" is the one that's full of all the things you wish you brought with you on your first overnighter.
A complete packing list is something that comes with time and experience, but hey... if the tuition is going on camping trips with friends, count me in.
Make sure to sign up for this weekend's trip. See you soon!

Comments ()